Add widget to SharePoint site (legacy widgets)
Note
Use this guide for HelpDesk versions earlier than 2.1.24.
Creating widget configuration
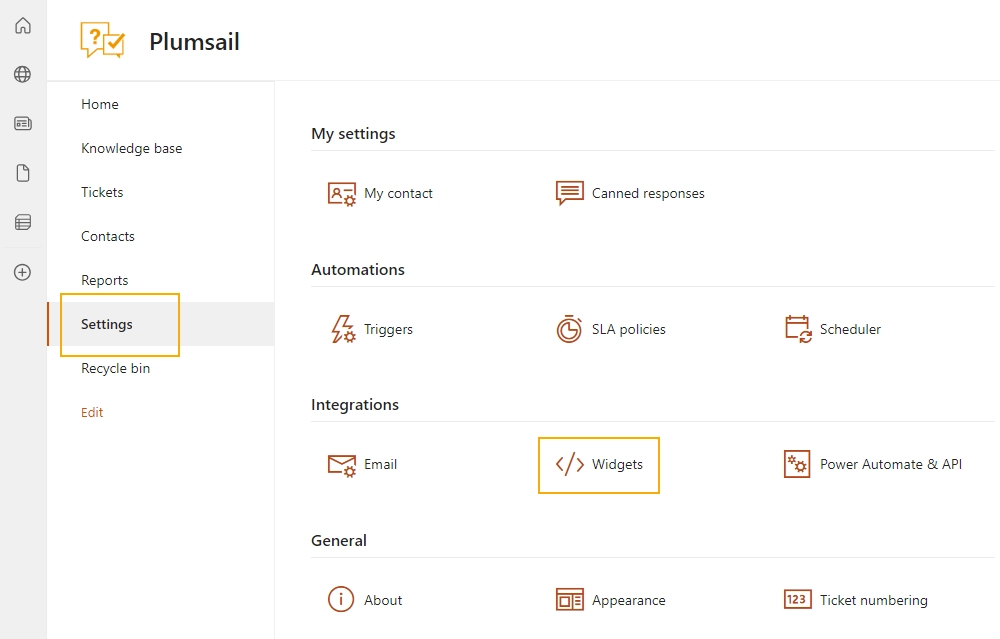
Open HelpDesk site and navigate to the Settings tab using the left navbar. Click on the Widgets button.
To create a new widget, click on the + New widget configuration button. You can also edit any existing configuration by clicking on the name of the widget. Please note that editing the widget configuration applies to every existing widget with this configuration.

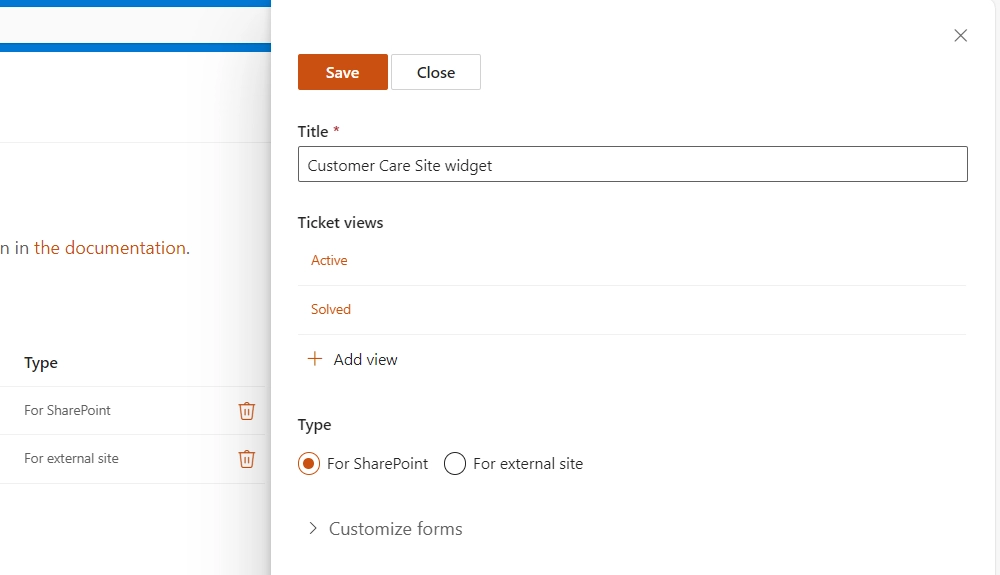
Provide a Title for the widget and choose “For SharePoint” as its Type.
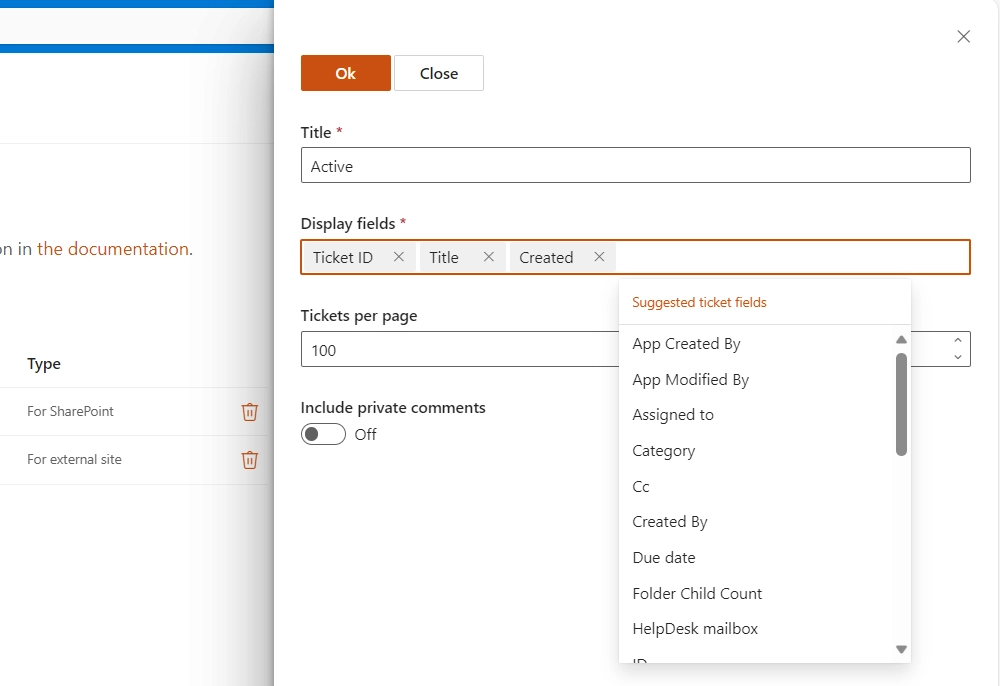
Check the configuration of the default views. You can set how many Tickets per page the widget will have for a certain view. The Display fields property specifies what information about tickets will be exposed on the widget list. Just start typing the name of a field and pick it up from the dropdown list. Creation of custom views is also available and described in this article.
To include private comments from a ticket to the widget view activate the option Include private comments.
Note
Display fields customization is available from version 1.4.7 and custom views—from version 2.1.9.
Note
Display fields are cached for 30 minutes for optimisation purposes. You will need to clear browser cache to apply your changes immediately.
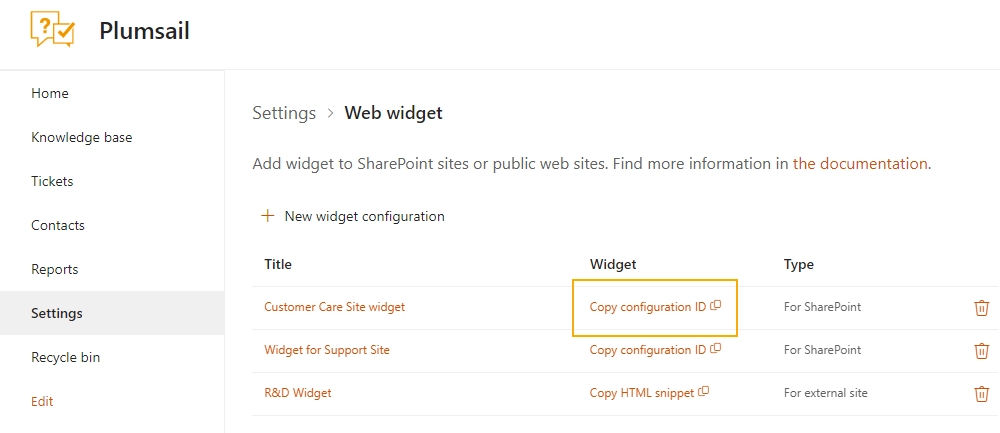
After saving, a configuration ID for SharePoint will be generated—copy it for inserting into the web part on a page.
Adding widget to modern SharePoint page
Navigate to a page where you’d like to place a widget.
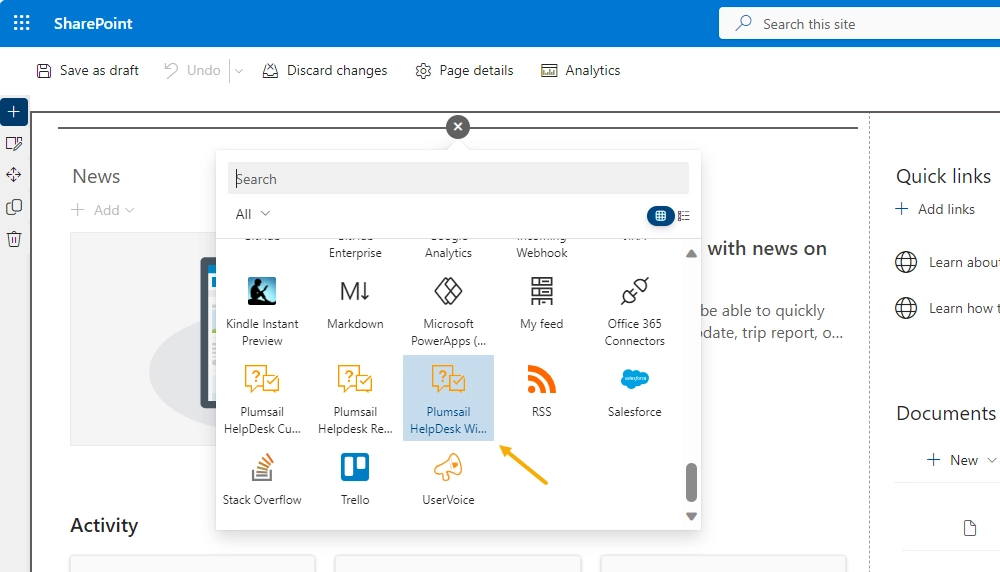
Pick Plumsail HelpDesk Widget web part from the menu to add it to your page:
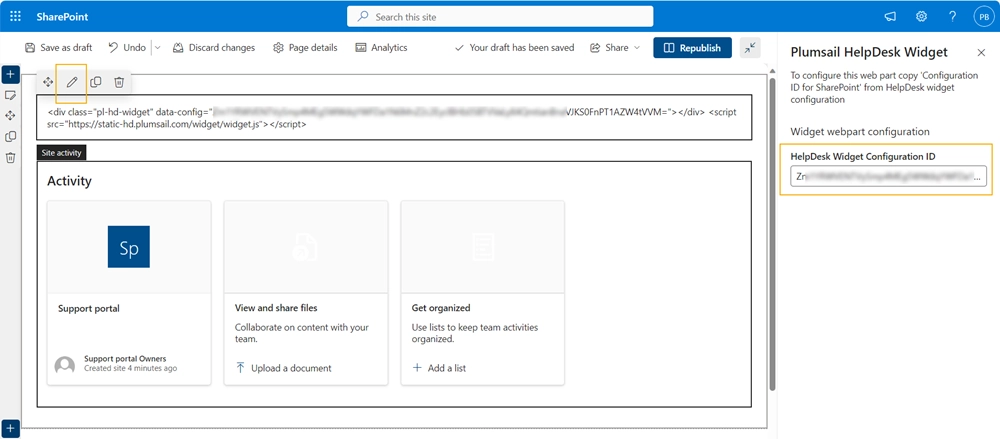
Once you added the web part you need to configure it. Just copy ‘Configuration ID for SharePoint’ from the widget configuration form, click on the pencil button in the widget settings and paste it to the corresponding web part property.
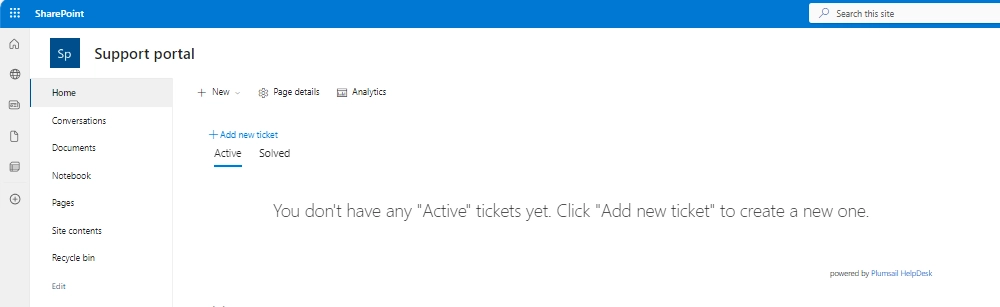
Publish the page. Your HelpDesk widget is ready to use. When a user opens the page with the widget, it automatically detects the user’s account and shows only their tickets.
Learn More: